Home Assistant
This page serves as a guide to help you connect your clock to Home Assistant. It provides step-by-step instructions and information to facilitate the process of integrating your clock with the Home Assistant platform.
Please note that connecting your clock to Home Assistant is optional and is recommended only for users who already have a smart home system powered by Home Assistant.
There are two options available for connecting your clock to Home Assistant: the automatic method and the manual method. The automatic method is suitable for most users and is recommended as the primary approach. However, in the event that the automatic method fails, the manual method can be used as an alternative. Both methods will be explained next in detail to ensure you have a successful connection between your clock and Home Assistant.
Connecting to Home Assistant (Automatic Method)
For the majority of users, Home Assistant will automatically detect and add the Clock without any additional steps required. This is made possible through ESPHome’s mDNS discovery feature.
To add the Clock to Home Assistant, follow these simple steps:
- Go to the Settings menu in Home Assistant.
- Select Devices & Services.
- You should see the Clock, identified as
word-clock-one-xxxxxxalready listed as an automatically discovered device.
- Click on the configure button next to the Clock to add it to Home Assistant.
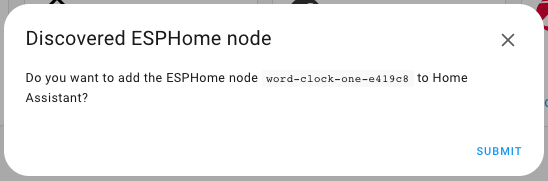
- Click “Submit” and complete the integration process.
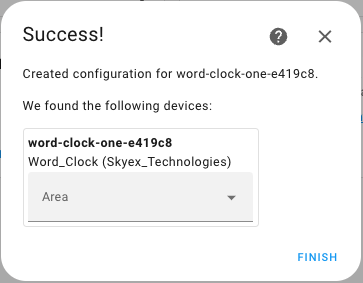
That’s it! The Clock is now successfully integrated with Home Assistant, and you can begin utilizing its features and functionalities within your smart home ecosystem.
Connecting to Home Assistant (Manual Method)
If the Clock is not automatically discovered or your network is not configured for mDNS, you have the option to manually add the Clock to Home Assistant. Follow these steps to manually add the Clock:
- First, determine the IP address of your Clock by checking your router’s web page. You can find the IP address associated with the Clock in your router’s device list.

- Alternatively, you can use a network scanning tool like Fing to discover network devices and find the IP address of the Clock.
- Once you have the IP address, navigate to Home Assistant and go to Settings > Devices and Services.
- In the bottom right corner, click on the “Add Integration” button.
- Search for “ESPHome” and select it to add an ESPHome device.
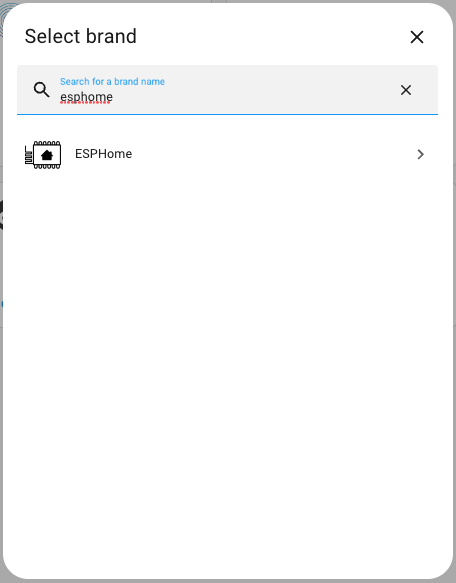
- Enter the IP address of the Clock in the provided box.
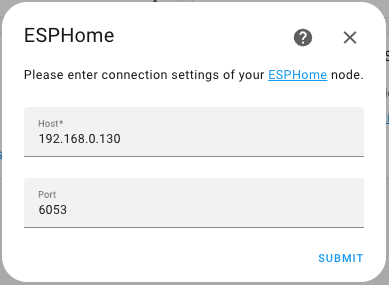
- Click “Submit” and complete the integration process.
Now, the Clock is successfully connected to Home Assistant. You can begin utilizing its features and control it through the Home Assistant interface.
Next Steps
Congratulations! The setup process for your Word Clock One is now complete, and you are ready to start automating and customizing it.
If you would like more information about the functionality and purpose of each entity within Home Assistant, you can refer to the Setup Page. The entities described on that page correspond to the entities that you will find in your Home Assistant setup.